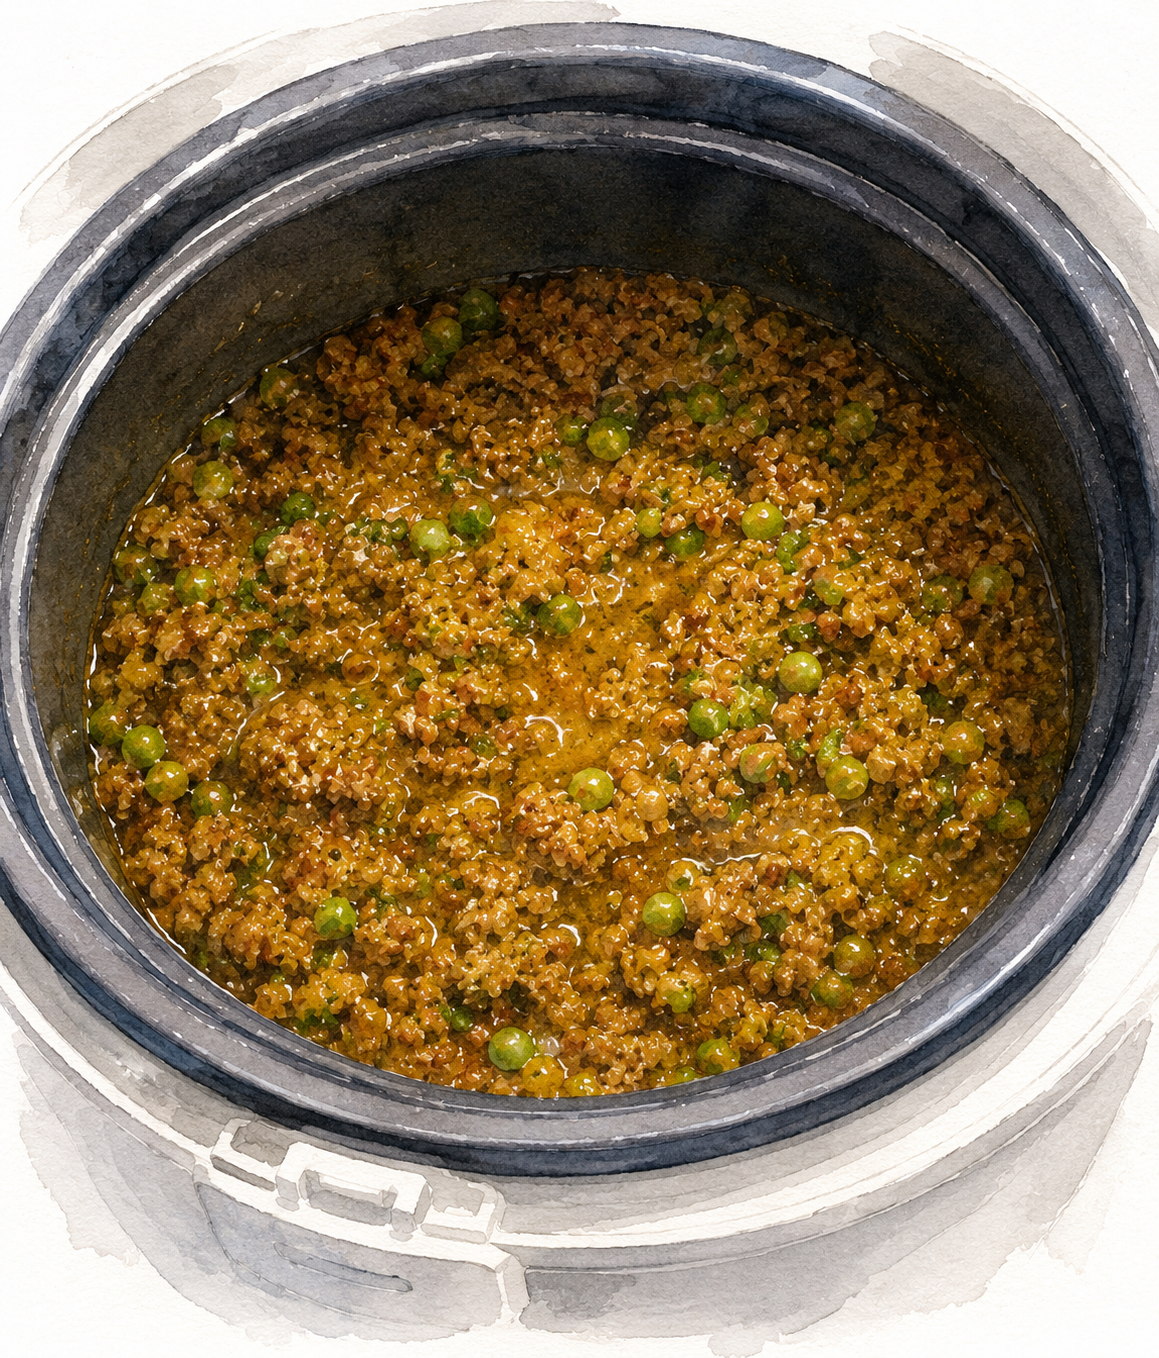
If you've already made the Rice Cooker Green Keema, you're most of the way to making biryani. Which is both good news and dangerous news. Good news because most of the flavour is already there. Dangerous news because once you realise how little extra effort is required, you'll start turning leftovers into biryani on a fairly regular basis.
This recipe wasn't planned. It happened because I had a batch of green keema sitting in the fridge and thought, 'Well, I could just eat this again.' And then immediately thought, 'Or I could make biryani.' The second thought won.
Thankfully, this is not one of those weekend-project biryanis involving multiple marinades, several pots and a detailed spreadsheet. The keema has already done the heavy lifting. All you're really doing now is making the rice, caramelising some onions and layering everything together.
The only thing that feels slightly wrong the first time you do it is the rice. You're deliberately undercooking it. Don't fix it. Don't add more water. Don't keep cooking because you're worried the rice isn't done. The rice is supposed to finish cooking during the dum stage. If you fully cook the rice beforehand, you'll end up with something much closer to keema pulao. Still delicious. Just not biryani.
The caramelised onions matter. The saffron matters. The resting period matters. And somehow, with very little extra effort, the humble rice cooker keema suddenly becomes something that feels worthy of having friends over for dinner.
Also: Rice Cooker Green Keema
Ingredients
- 1 full batch Rice Cooker Green Keema
- — Rice —
- 100g basmati rice
- 100g water
- 1 black cardamom
- 1 small piece cinnamon stick
- 1 star anise
- 1 bay leaf
- Pinch of mace
- 1 tsp ghee
- — Layering —
- 1 medium onion, thinly sliced and caramelised
- 75ml saffron water
- Fresh coriander, chopped
Method
- Thinly slice the onion and cook slowly in a frying pan over medium-low heat until deeply golden and caramelised. Set aside.
- Add the water and rice spices to a small saucepan. Bring to a gentle simmer and allow the spices to infuse the water for a few minutes. Turn off the heat.
- Wash the rice thoroughly. Add to the spiced water and soak for at least 10–15 minutes (30 minutes is better if you have time).
- Return the saucepan to the stove. Add the ghee. Cook until the water has been absorbed. The rice should still be undercooked. This is intentional. Remove and set aside.
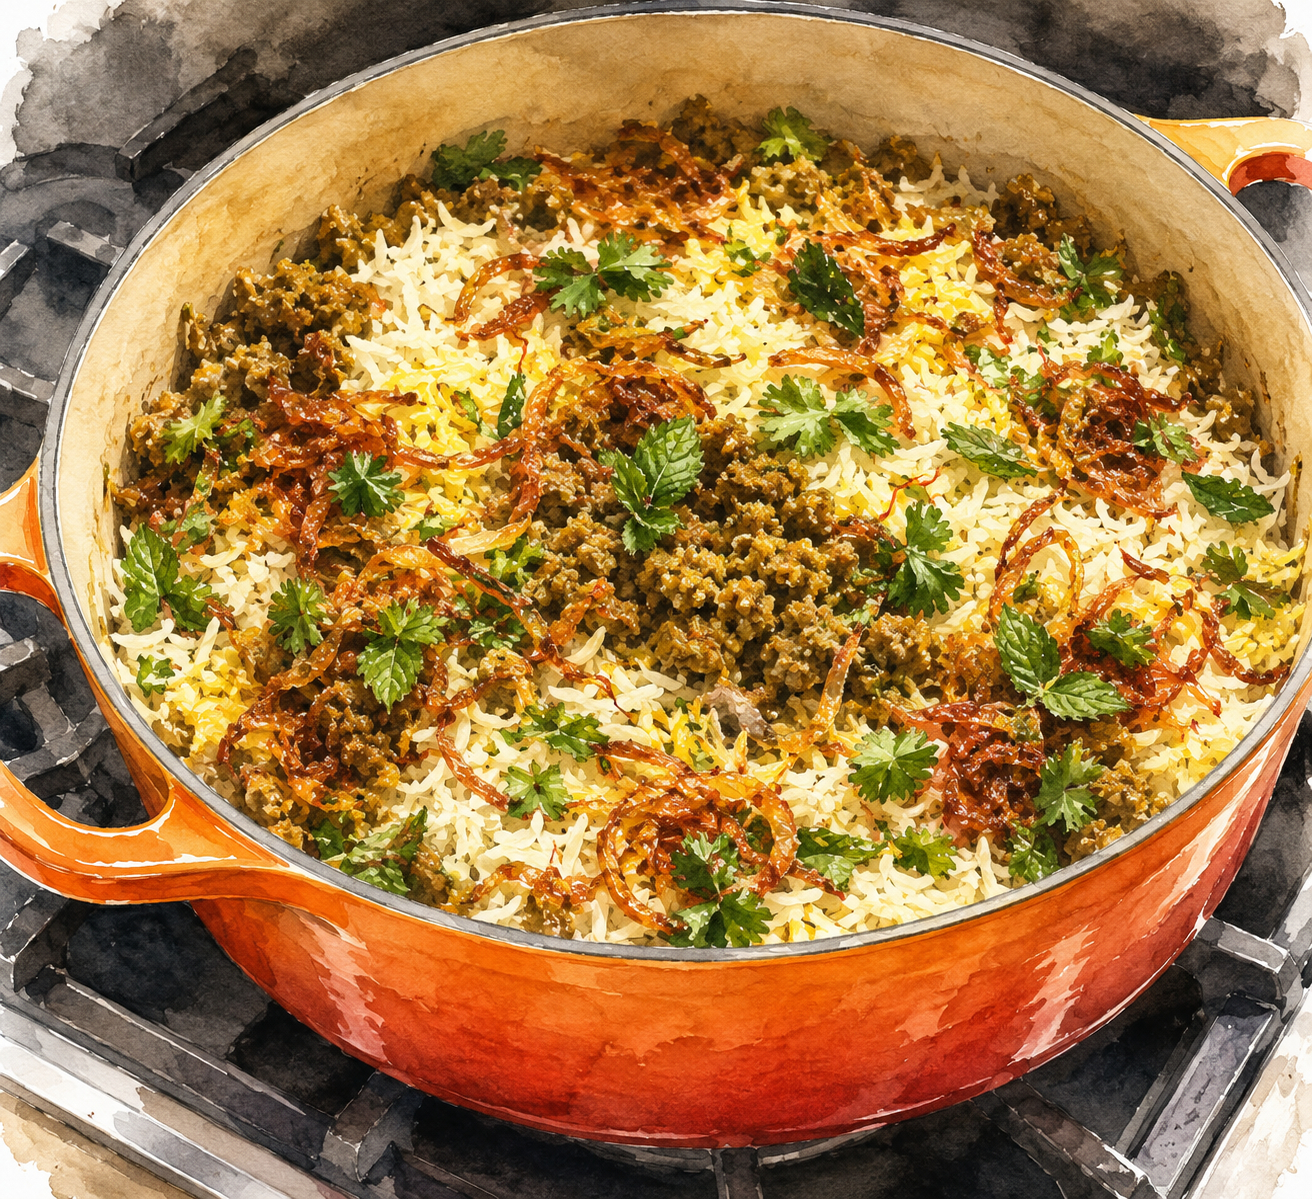
- Place the green keema into a heavy-bottomed or cast-iron pot. Scatter over the caramelised onions. Add the partially cooked rice. Sprinkle over the chopped coriander. Drizzle over the saffron water (use less if the keema is already quite wet, more if it feels dry).
- Cover with a tight-fitting lid. Place a heavy weight on top. Cook over medium-high heat for 10 minutes. Reduce the heat and cook for another 5 minutes. Turn off the heat.
- Leave completely undisturbed for 20 minutes. No peeking.
- Fluff gently with a fork. Serve with raita, daqoos and lemon wedges.
Any leftover green keema works. Beef keema works if that's what you started with.
Fried shallots can be used if you're really short on time for the caramelised onions.
A heavy pot works better than a thin one for dum cooking.
If the biryani looks slightly wet when you first open it, fluff gently and give it a few minutes. The rice will continue absorbing moisture.
This recipe exists because sometimes leftovers deserve better things. The keema is already excellent on its own. You can absolutely eat it with rice, roti, toast or a spoon. But if you're cooking for two, or you just want something that feels a little more special, the biryani route is worth taking.
The biggest trap is overcooking the rice. Every instinct tells you the rice should be done before you assemble the biryani. Ignore that instinct. The rice is supposed to look undercooked.
The second biggest trap is impatience. The resting period matters more than people think. The biryani is still cooking long after you've turned the heat off. Leave it alone. Let the steam do its work. Future you will be grateful.
The keema already contains most of the flavour, so the biryani becomes more about texture and aroma than building another layer of spice. The partially cooked rice absorbs moisture from the keema while remaining fluffy and separate.
The caramelised onions add sweetness and richness. The saffron water perfumes the rice and provides just enough moisture to finish cooking during the dum stage. The resting period allows the rice to finish steaming gently rather than becoming wet or sticky.
With raita. With daqoos. With lemon. Because nobody has ever complained about having too many condiments with biryani.
Honestly, I'd probably make a double batch of the green keema specifically so I could turn half of it into biryani the next day. That feels like the correct life choice.
New recipes in your inbox
Subscribe and I'll let you know when a new recipe goes up.